If you follow the first part of this blog topic, you have a running Django dashboard.
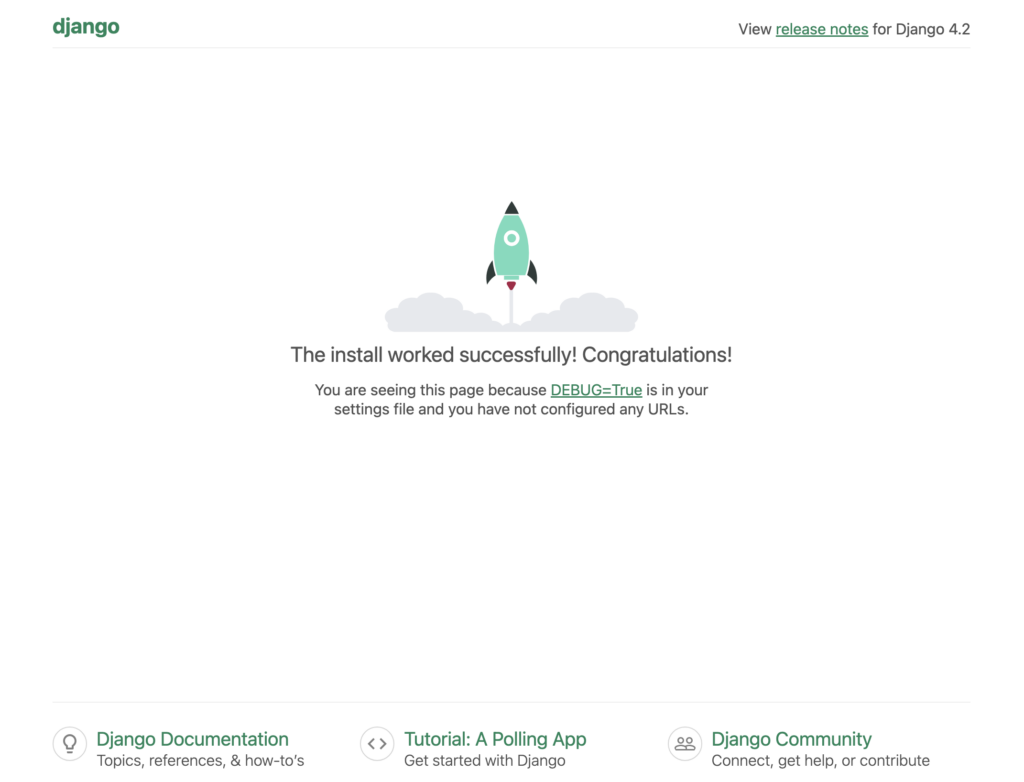
But, the content ist still static. Lets review the current state:
Prepare our Django project
Right now, the whole content of our Django project is provided by the dashboard template
dashboard/template/site/base.html
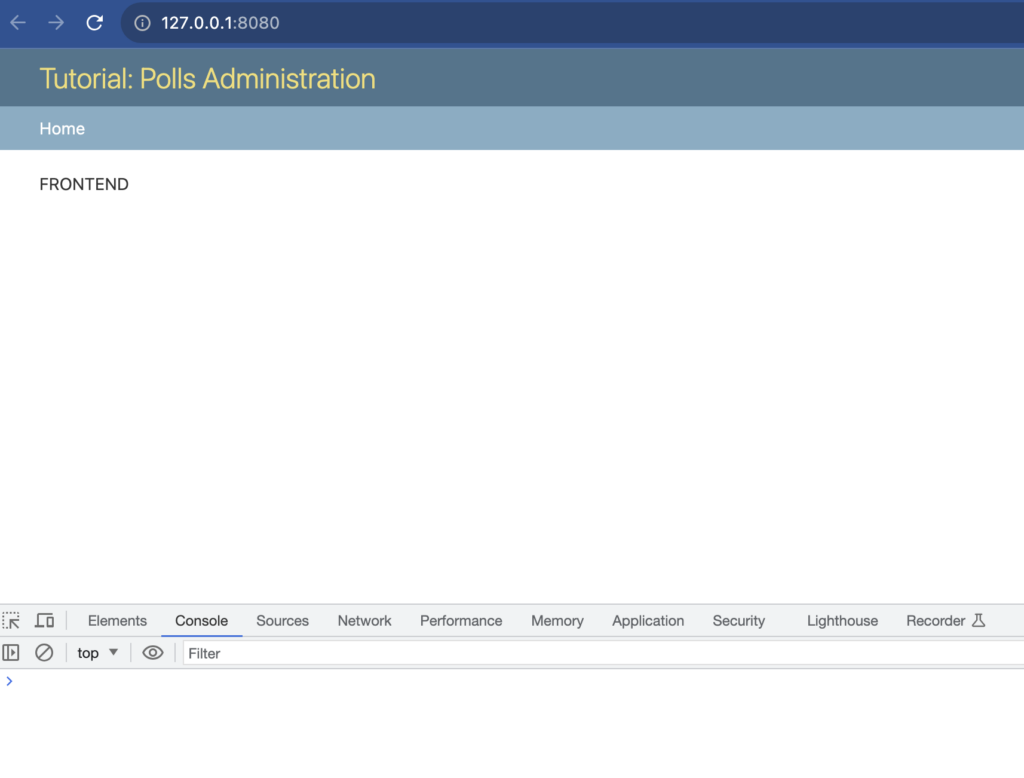
Looking at our web site, you will see the different side menu items. So, intentionally, our web site should display different pages. And each page should provide the dynamic content.
The final goal of this part is to change our web app, so that each side item navigates us to a different page. For this, we have to take care about two things:
Navigation: how to we get to another page in our app
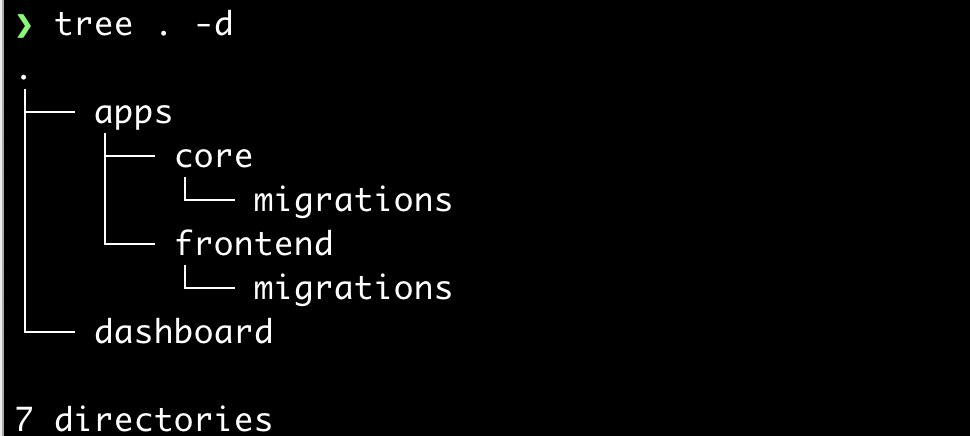
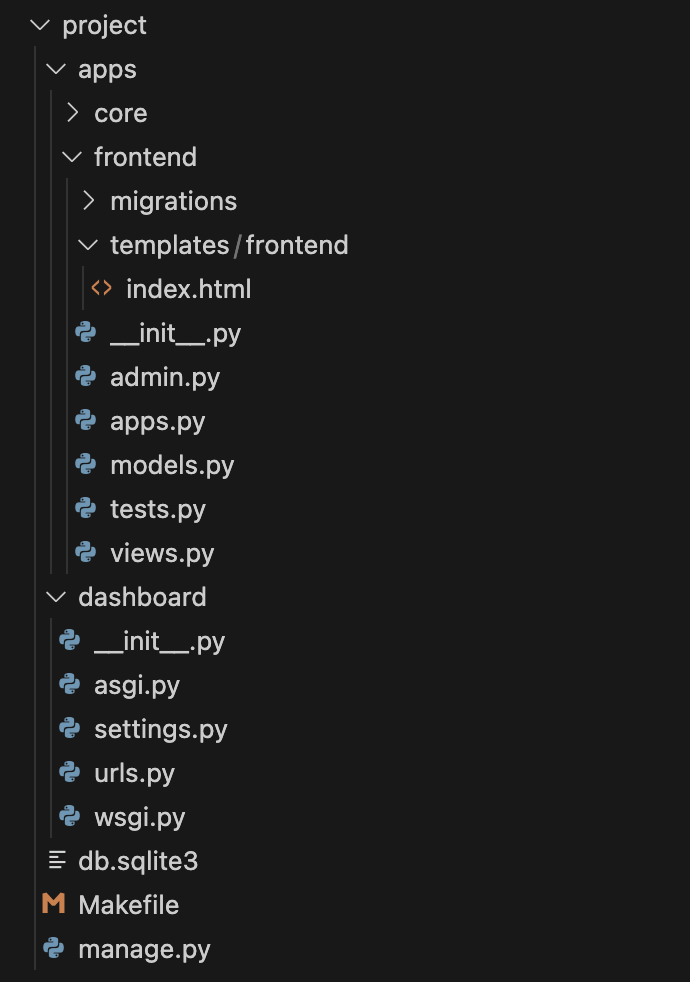
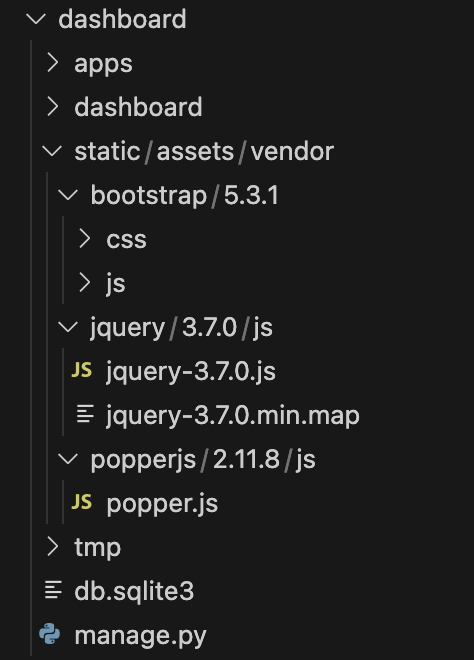
Project Structure: where to place the required components for each page
Basics of Navigation
Navigation usually is the process of getting from one page to another by clicking on a link.
So, we need to things:
the source page, containing the link
the destination page
the link, pointing to the destination page
Let’s take a look into the site template with the side menu:
Linking to a html page is not possible, because Django does not work with html pages. Navigation in Django works with urls (in urls.py) and views in (views.py).
We must replace the html link tag (<a href="buttons.html">) with an Django-conform code. Read here for more details and the basics.
The idea behind the navigation is
Define the needed links
/buttons
Give each link a name
“buttons”
Define, which view to call for this link
components/buttons/views.py
Tell Django, how to insert this link in a html page
<a href="
With this in mind, we change our site template for the side navigation (e. g. for the components menu):
But, if you save the template and try to view the web page, you will see this error:
We missed to tell Django, what to do when the corresponding link for this name is requested. We have to tell Django to use the view defined in buttons/views.py to generate the resulting view/page.
So, change the global url mapping file dashboard/urls.py
Each template base.html should have the following content:
And each corresponding view.py file should have the following content, only the template_name should be different (the name of the template base.html file)
from django.views import generic
class IndexView(generic.TemplateView):
template_name = 'buttons/base.html'
So, for each template file, we have to
locate the corresponding html file from the install folder (see table above)
copy the content between these tags to the template file:
If you follow the first part of this blog topic, you have a running Django dashboard.
But, unfortunately, the content is still static. Let’s review the current state:
Perfect. We are done with the basic setup.
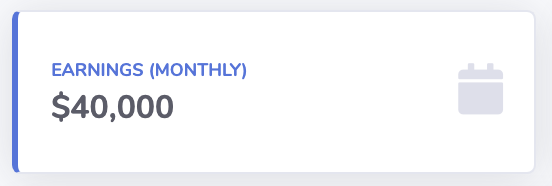
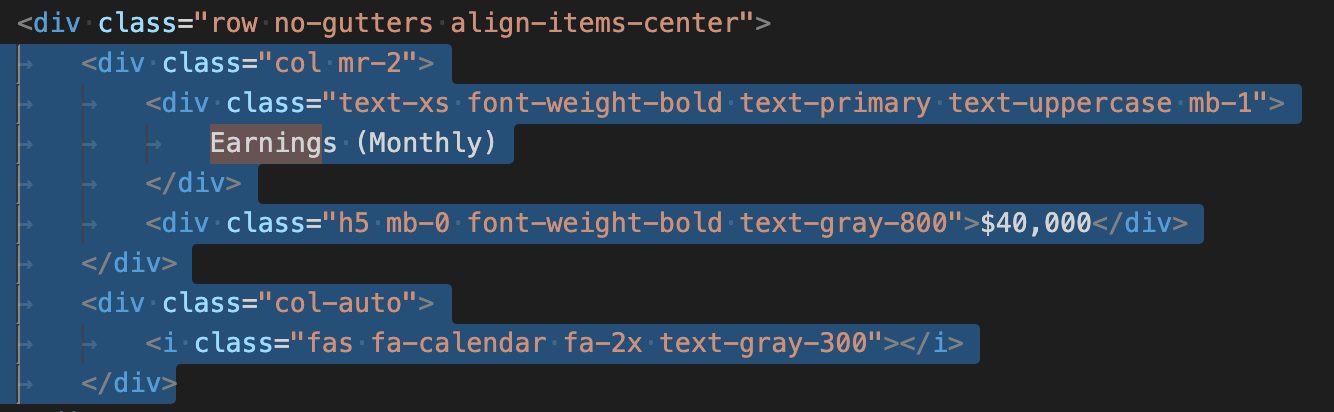
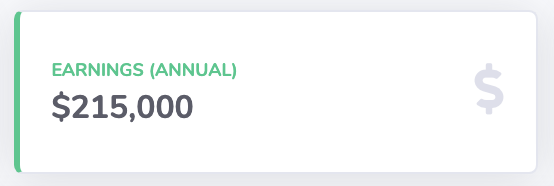
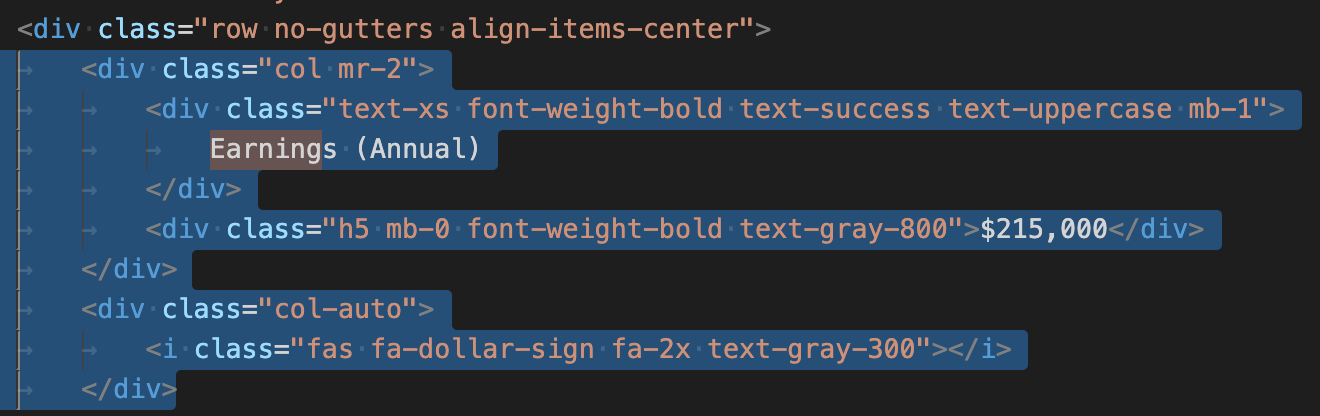
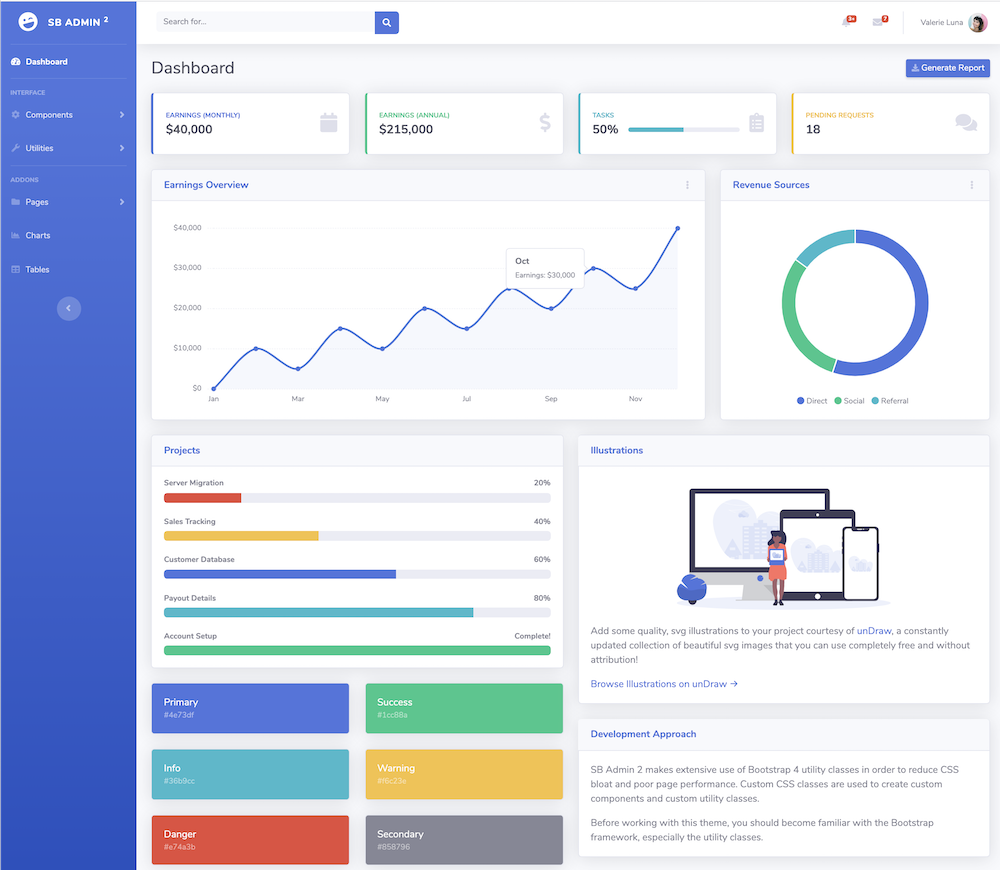
Still, some work to do, because our dashboard is only a static dashboard. All content is programmed in the dashboard template file dashboard/templates/site/sb-admin-2/base.html
For example, look at the cards with the earnings at the top:
To achieve a more dynamic content, we need to move the desired parts of the dashboard from the template file to the frontend view file.
We will do this by following these steps:
Identify the dynamic parts
Move these parts from the template into for frontend view template index.html
Modify frontend view.py to generate dynamic content from data
Identify dynamic parts
How to find the parts, which are dynamic.
One way is to ask:
Which parts should be on every page (unchanged) and
What should change on every page
You mostly get the same answers by the question:
What are the main components of a web page (including navigation and content)
For answer the first question, take a look at the current page and “name” the areas:
So, these “names” are also the answer for the 3. Question:
sidemenu
top bar
content
And maybe you find additional “names”
header
footer
top menu
left and right sidebar
Find identified parts in template
Next step is, to find the identified parts in our dashboard template
dashboard/templates/site/sb-admin-2/base.html
This is an easy step, because the developer of the SB Admin 2 template documented their template well:
Looking into the code of the template, you will find comment lines describing the content:
<!-- Sidebar -->
<!-- Topbar -->
<!-- Top Search -->
<!-- Top Navbar -->
<!-- Begin Page Content-->
So, it is obvious what do to next:
get the dynamic part (lines under)<!-- Begin Page Content--> the green box in the following image
move it to the frontend template
place some information in the dashboard template, that the real content should be displayed here the blue curly braces in the following image
This is the way, the template system of django works:
Let’s explain this with a simple example: the page title
We declare a title (which should be considered as the default title). And in the frontend page, we declare the title for this page (the frontend page).
To achieve this, we have to tell our template system the following:
Now, we do the same with the content:
Looking at our resulting page, nothing changes. This is the desired result, but how could we be sure, that we really change the structure?
Well, let’s make a test and try to include a different content in the dashboard template.
Change the lines, where we include the content into this:
MISSING CONTENT
Did you notice the other name of the content: content_missing?
Change the template, save the file and have a look at the result:
Change content back, so your template is working again:
MISSING CONTENT
The final step in Part 3 will be replacing all static content of the dashboard with dynamic content.
Building a complete web app isn’t always an easy task. Designing and Implementing on both sides (backend and front-end) requires mostly a lot of knowledge. So, why don’t using tools or framework, which helps and makes our life easier. Django is one of these frameworks:
Django is a high-level Python Web framework that encourages rapid development and clean, pragmatic design. Built by experienced developers, it takes care of much of the hassle of Web development
So, let’s get started.
Create project
For subsequent steps, we will remember our starting directory
❯ DASHBOARD_ROOT=$(pwd)
❯ echo $DASHBOARD_ROOT
... here you will see your current folder...
<main>
<div class="p-5 mb-4 bg-body-tertiary rounded-3">
<div class="container-fluid py-5">
<h1 class="display-5 fw-bold">Custom jumbotron</h1>
<p class="col-md-8 fs-4">Using a series of utilities, you can create this jumbotron, just like the one in
previous versions of Bootstrap. Check out the examples below for how you can remix and restyle it to
your liking.</p>
<button class="btn btn-primary btn-lg" type="button">Example button</button>
</div>
</div>
</div>
</main>
Still some work to do, because our dashboard is only a static dashboard. All content is programmed in the dashboard template file dashboard/templates/site/sb-admin-2/base.html
For example, look at the cards with the earnings at the top:
To achieve a more dynamic content, we need to move the desired parts of the dashboard from the template file to the front-end view file.
Now that Bootstrap 4 is flexbox by default,vertical alignment gets a little easier. In general, there are 3 different approaches to vertical alignment…
At first, the “Vertical Align” utilities would seem an obvious choice, but these only work with inline and table display elements. Consider the following vertical alignment options and scenarios.
In general, there are 2 types of vertical alignment scenarios you’ll encounter…
vertical centering within a parent container.
or, vertical centering relative to adjacent elements.
1. Vertical Center Using Auto Margins
One way to vertically center is to use my-auto. This will center the element within it’s flexbox container (The Bootstrap 4 .row is display:flex). For example, h-100 makes the row full height, and my-auto will vertically center the col-sm-12 column.
Since the Bootstrap 4 .row class is now display:flex you can simply use the new align-self-center flexbox utility on any column to vertically center it:
Bootstrap 4 has now has display utils that are used a wrapper for the CSS display propery such asdisplay:block, display:inline, display:table-cell, display:none, etc.. These can be used with the vertical alignment utilsto align inline, inline-block or table cell elements.
<div class="row h-50">
<div class="col-sm-12 h-100 d-table">
<div class="card card-block d-table-cell align-middle">
I am groot
</div>
</div>
</div>
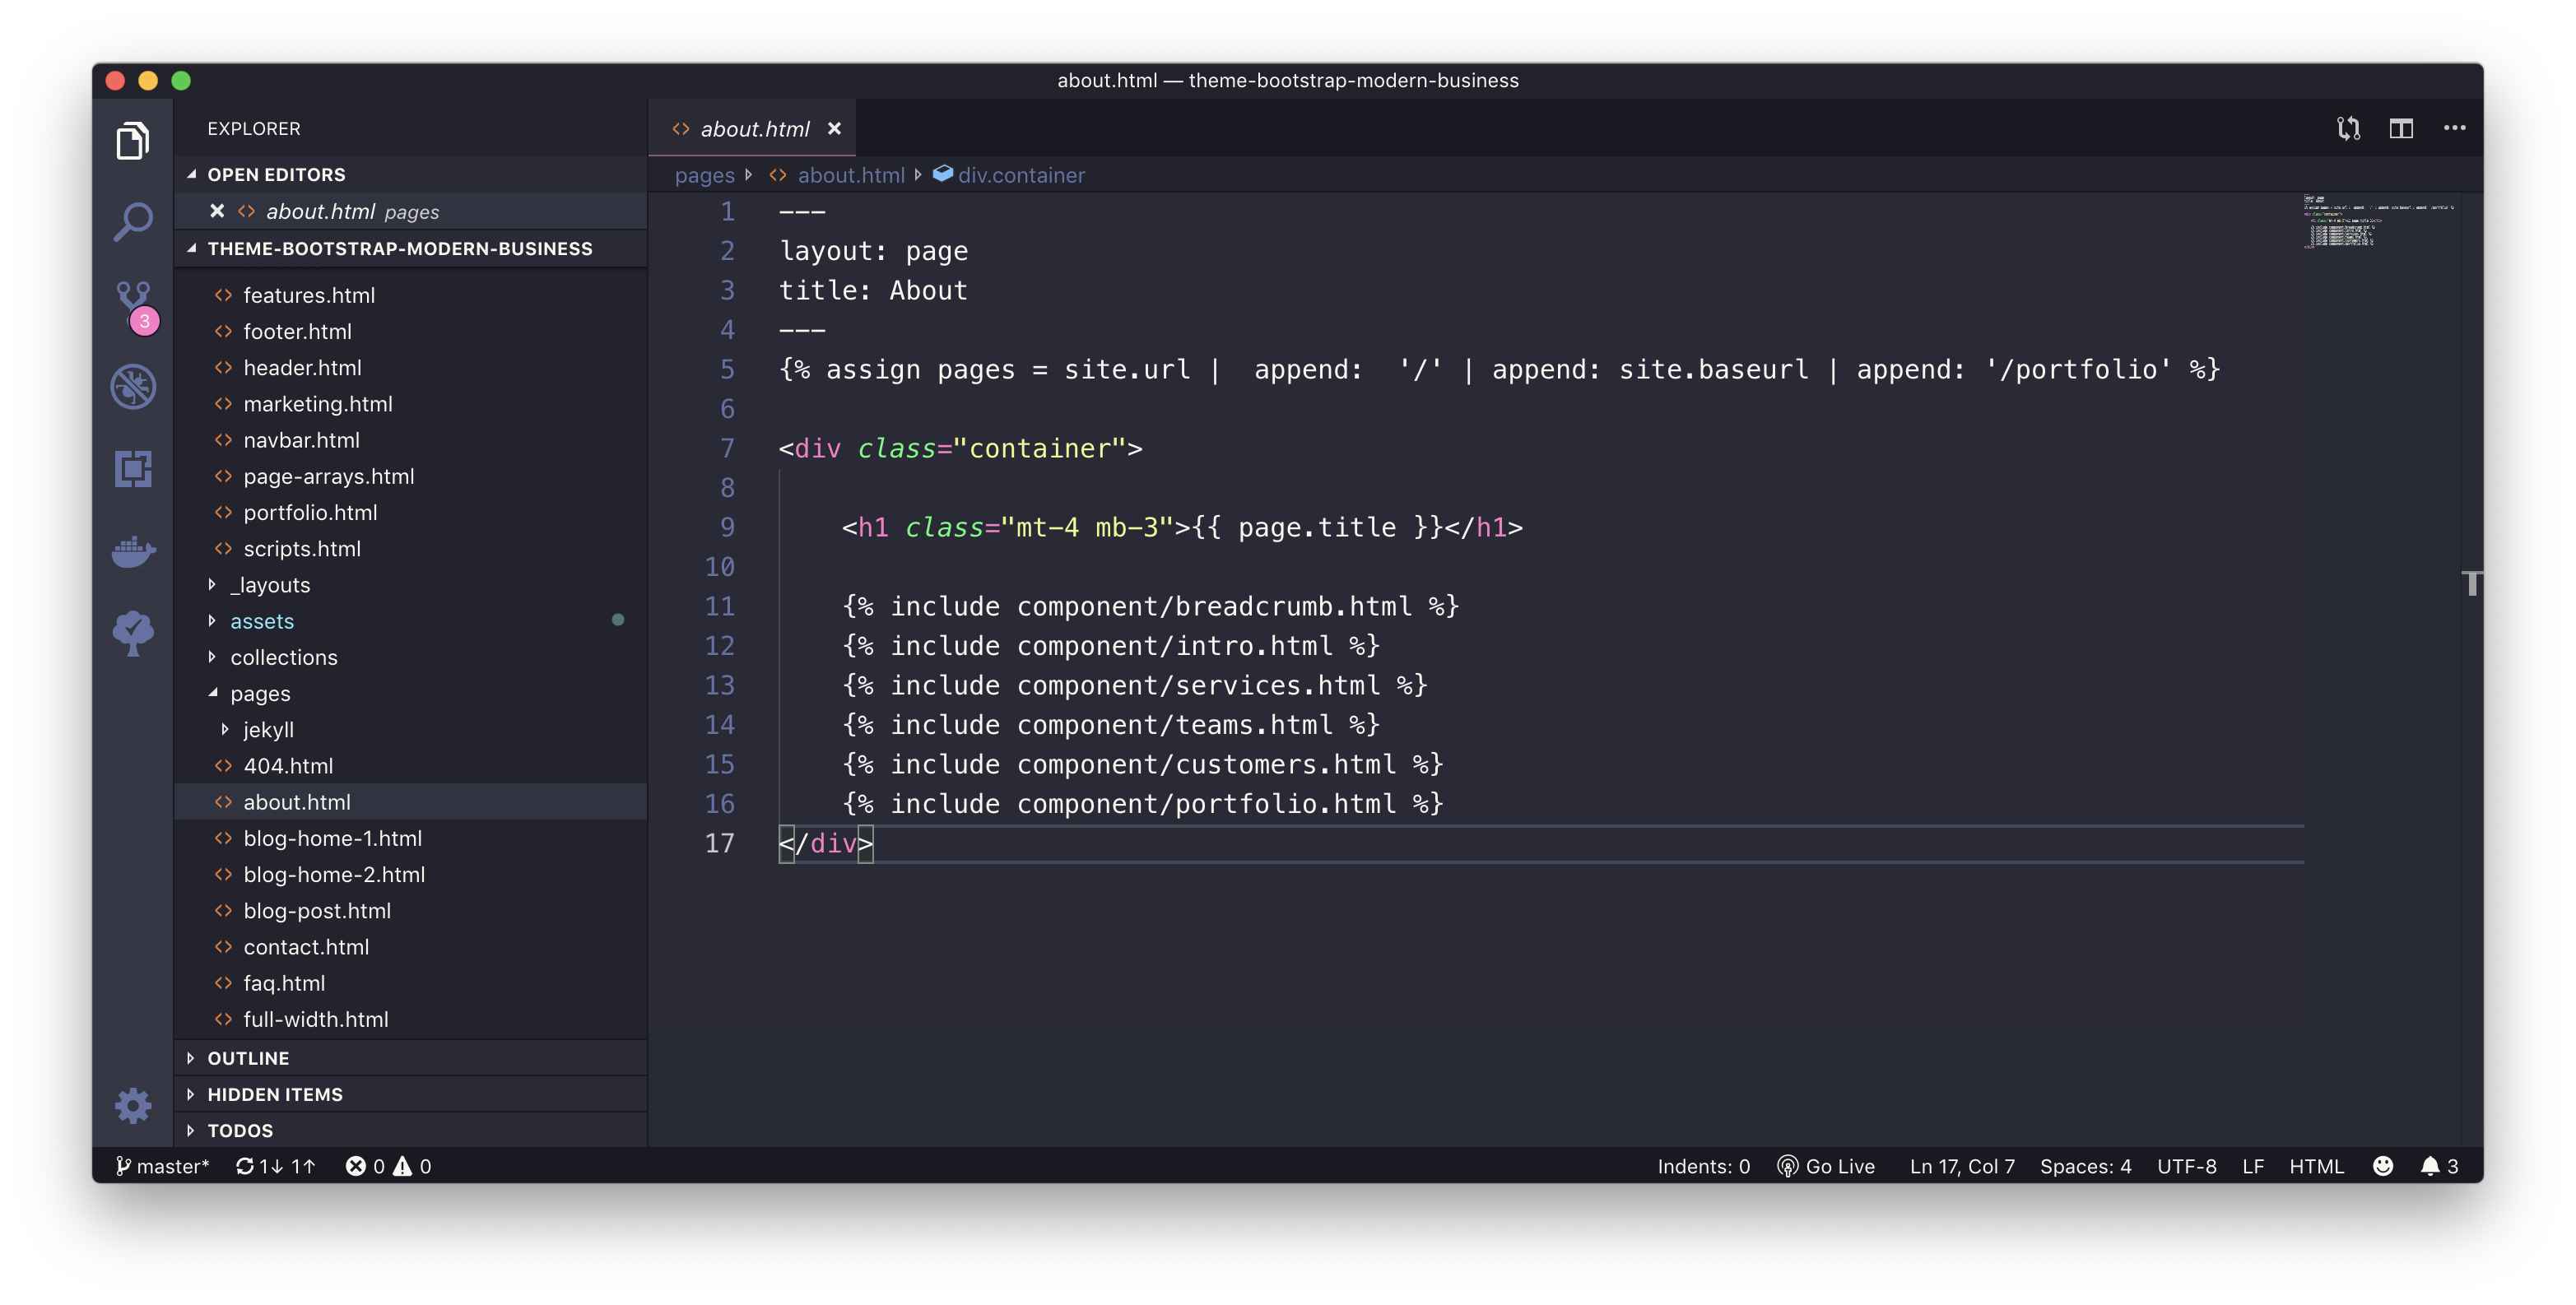
When i downloaded the template from Github and examine the content, i find out, that for each component (Pricing, Service, Contact), there is a corresponding HTML-file with all the content and all the formatting code:
about.html
blog-home-1.html
blog-home-2.html
blog-post.html
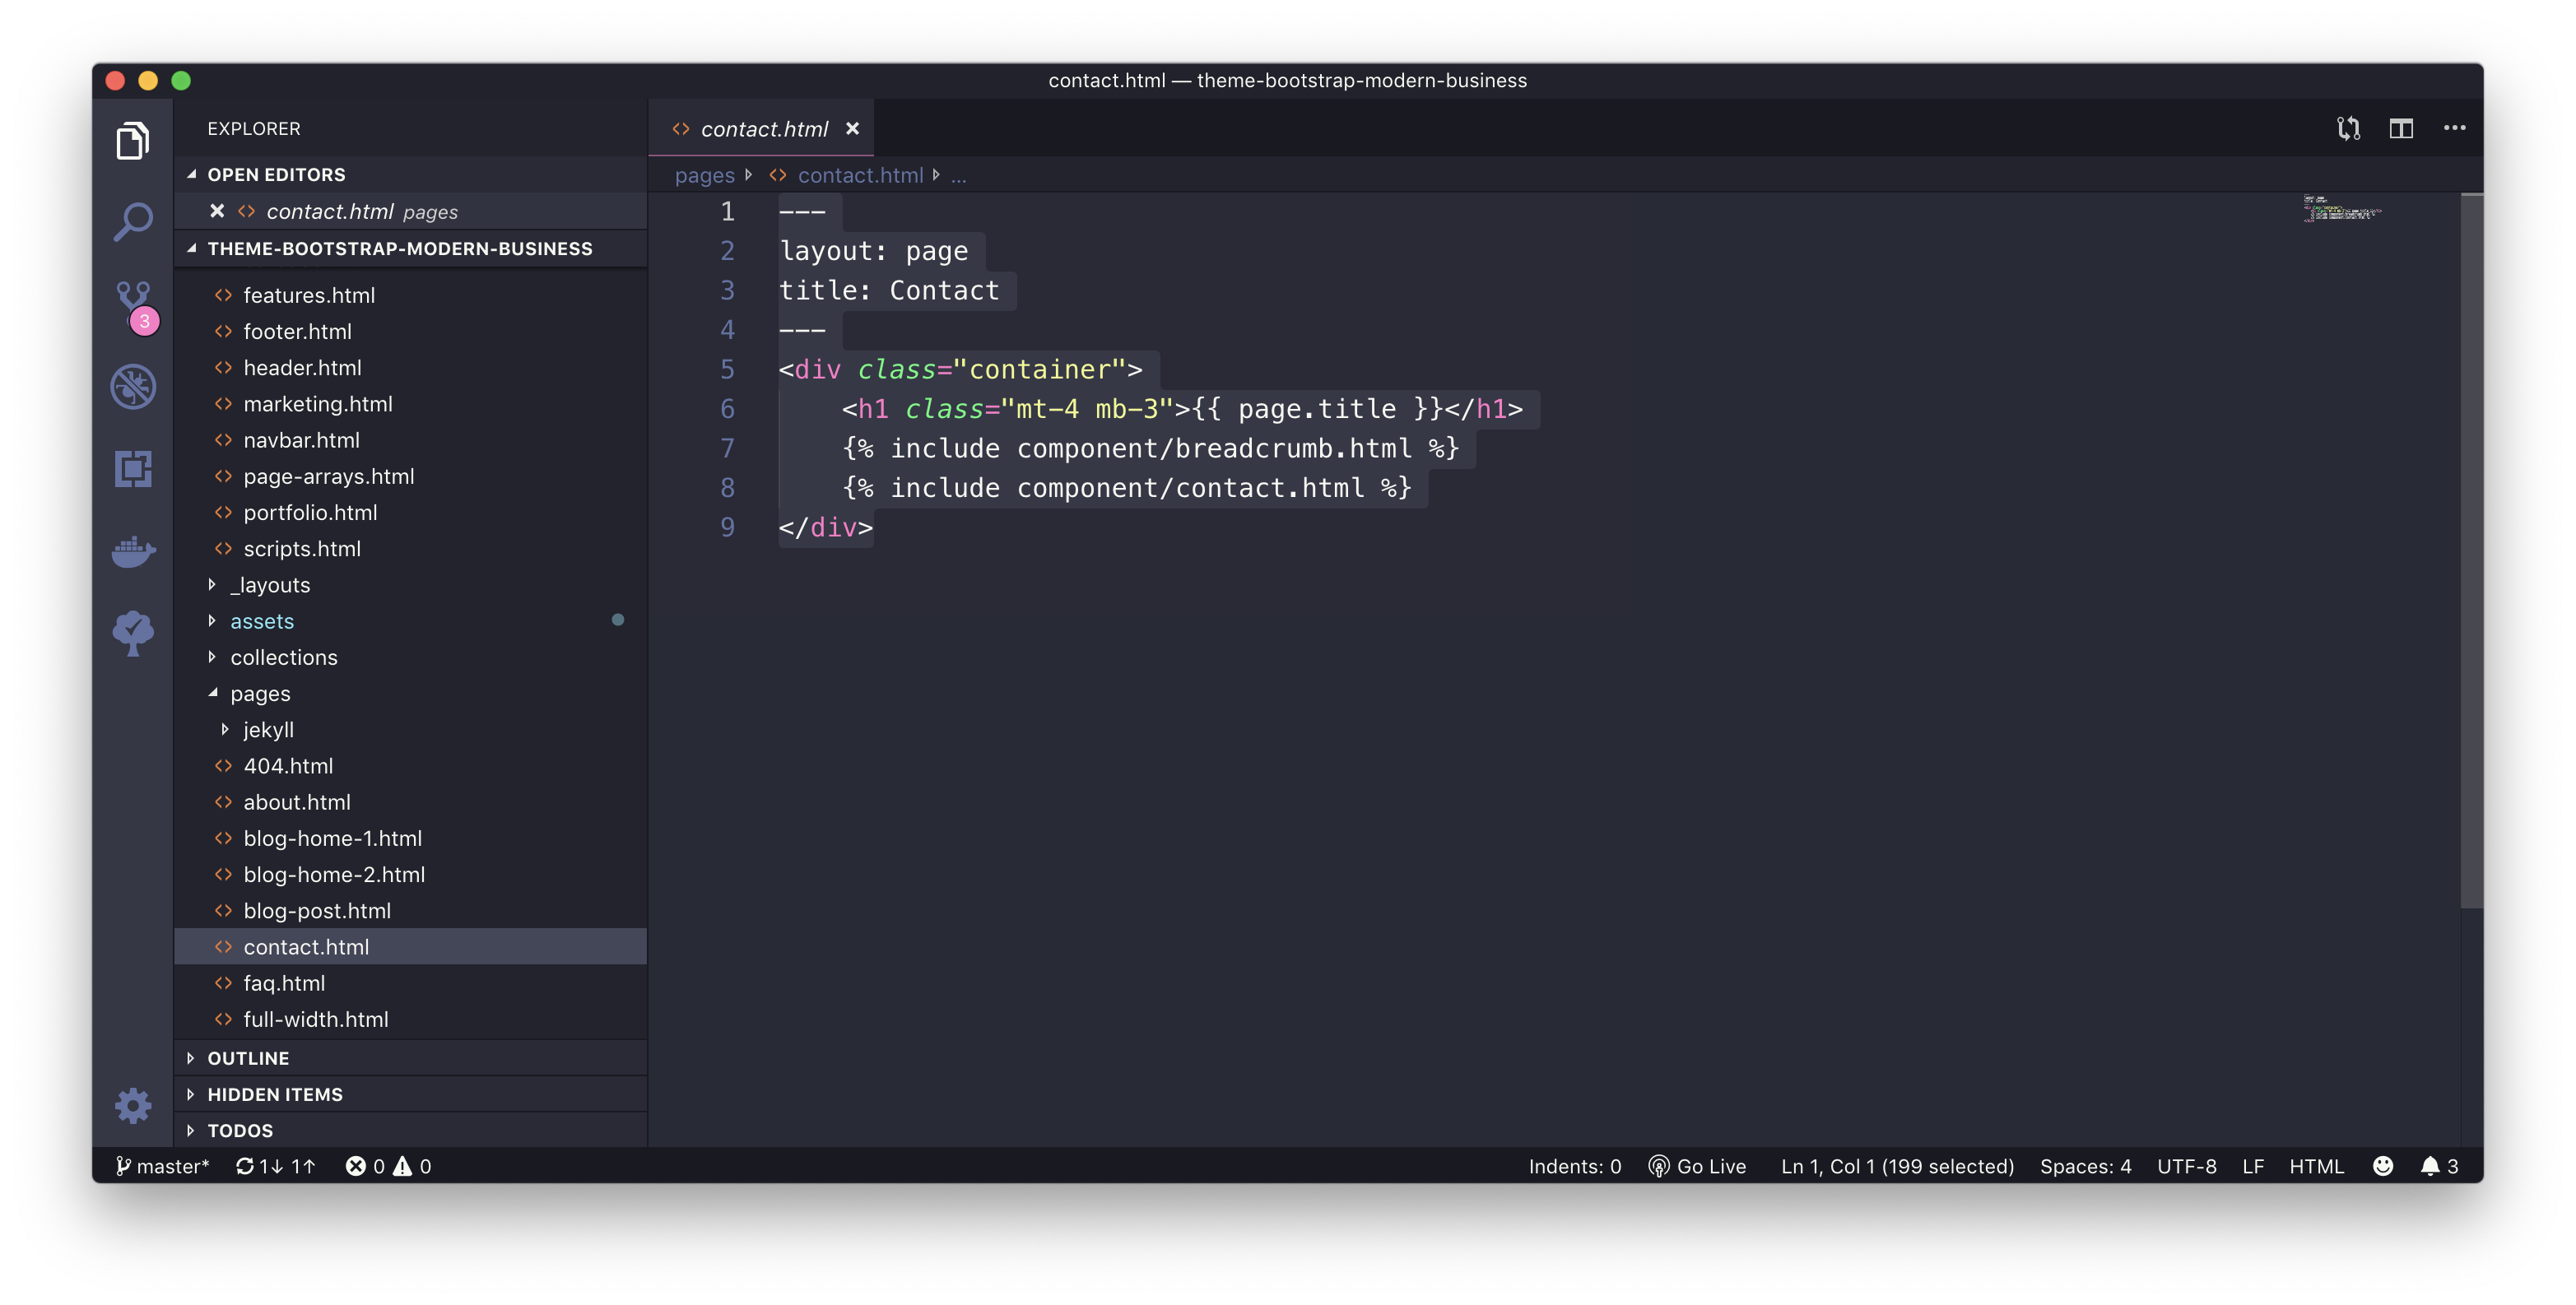
contact.html
faq.html
full-width.html
index.html
portfolio-1-col.html
portfolio-2-col.html
portfolio-3-col.html
portfolio-4-col.html
portfolio-item.html
pricing.html
services.html
sidebar.html
The Plan
My plan was to separate the presentation layer (what you will see) from the business layer (what creates the content for the presentation layer).
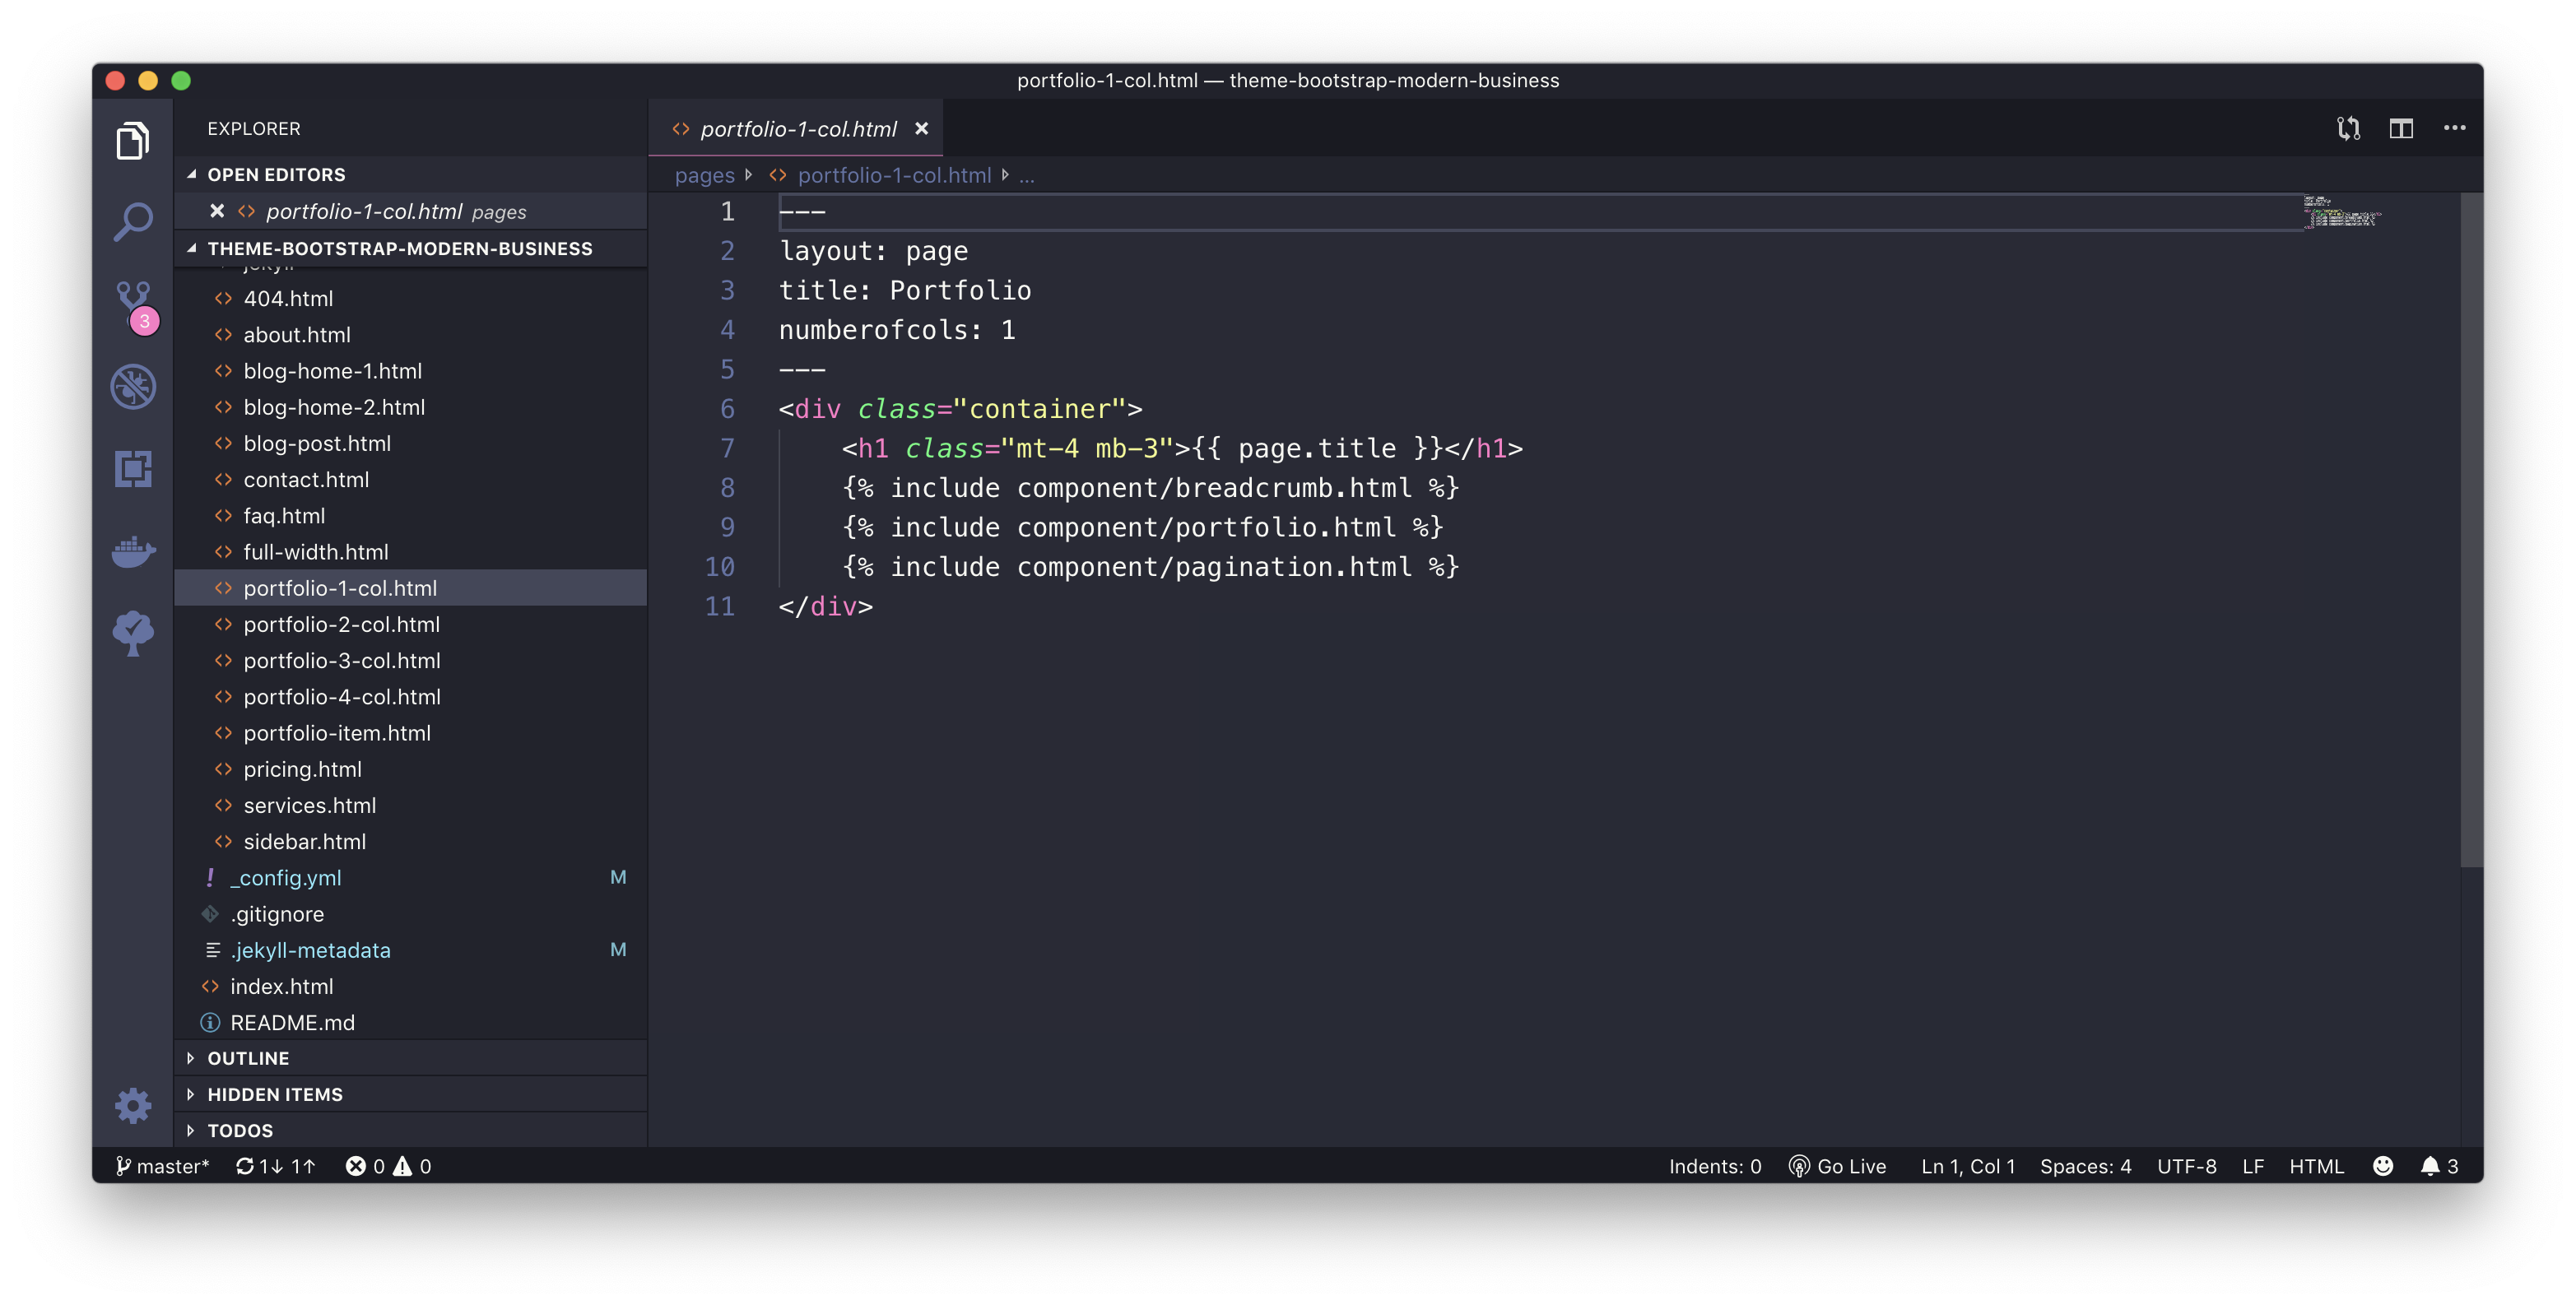
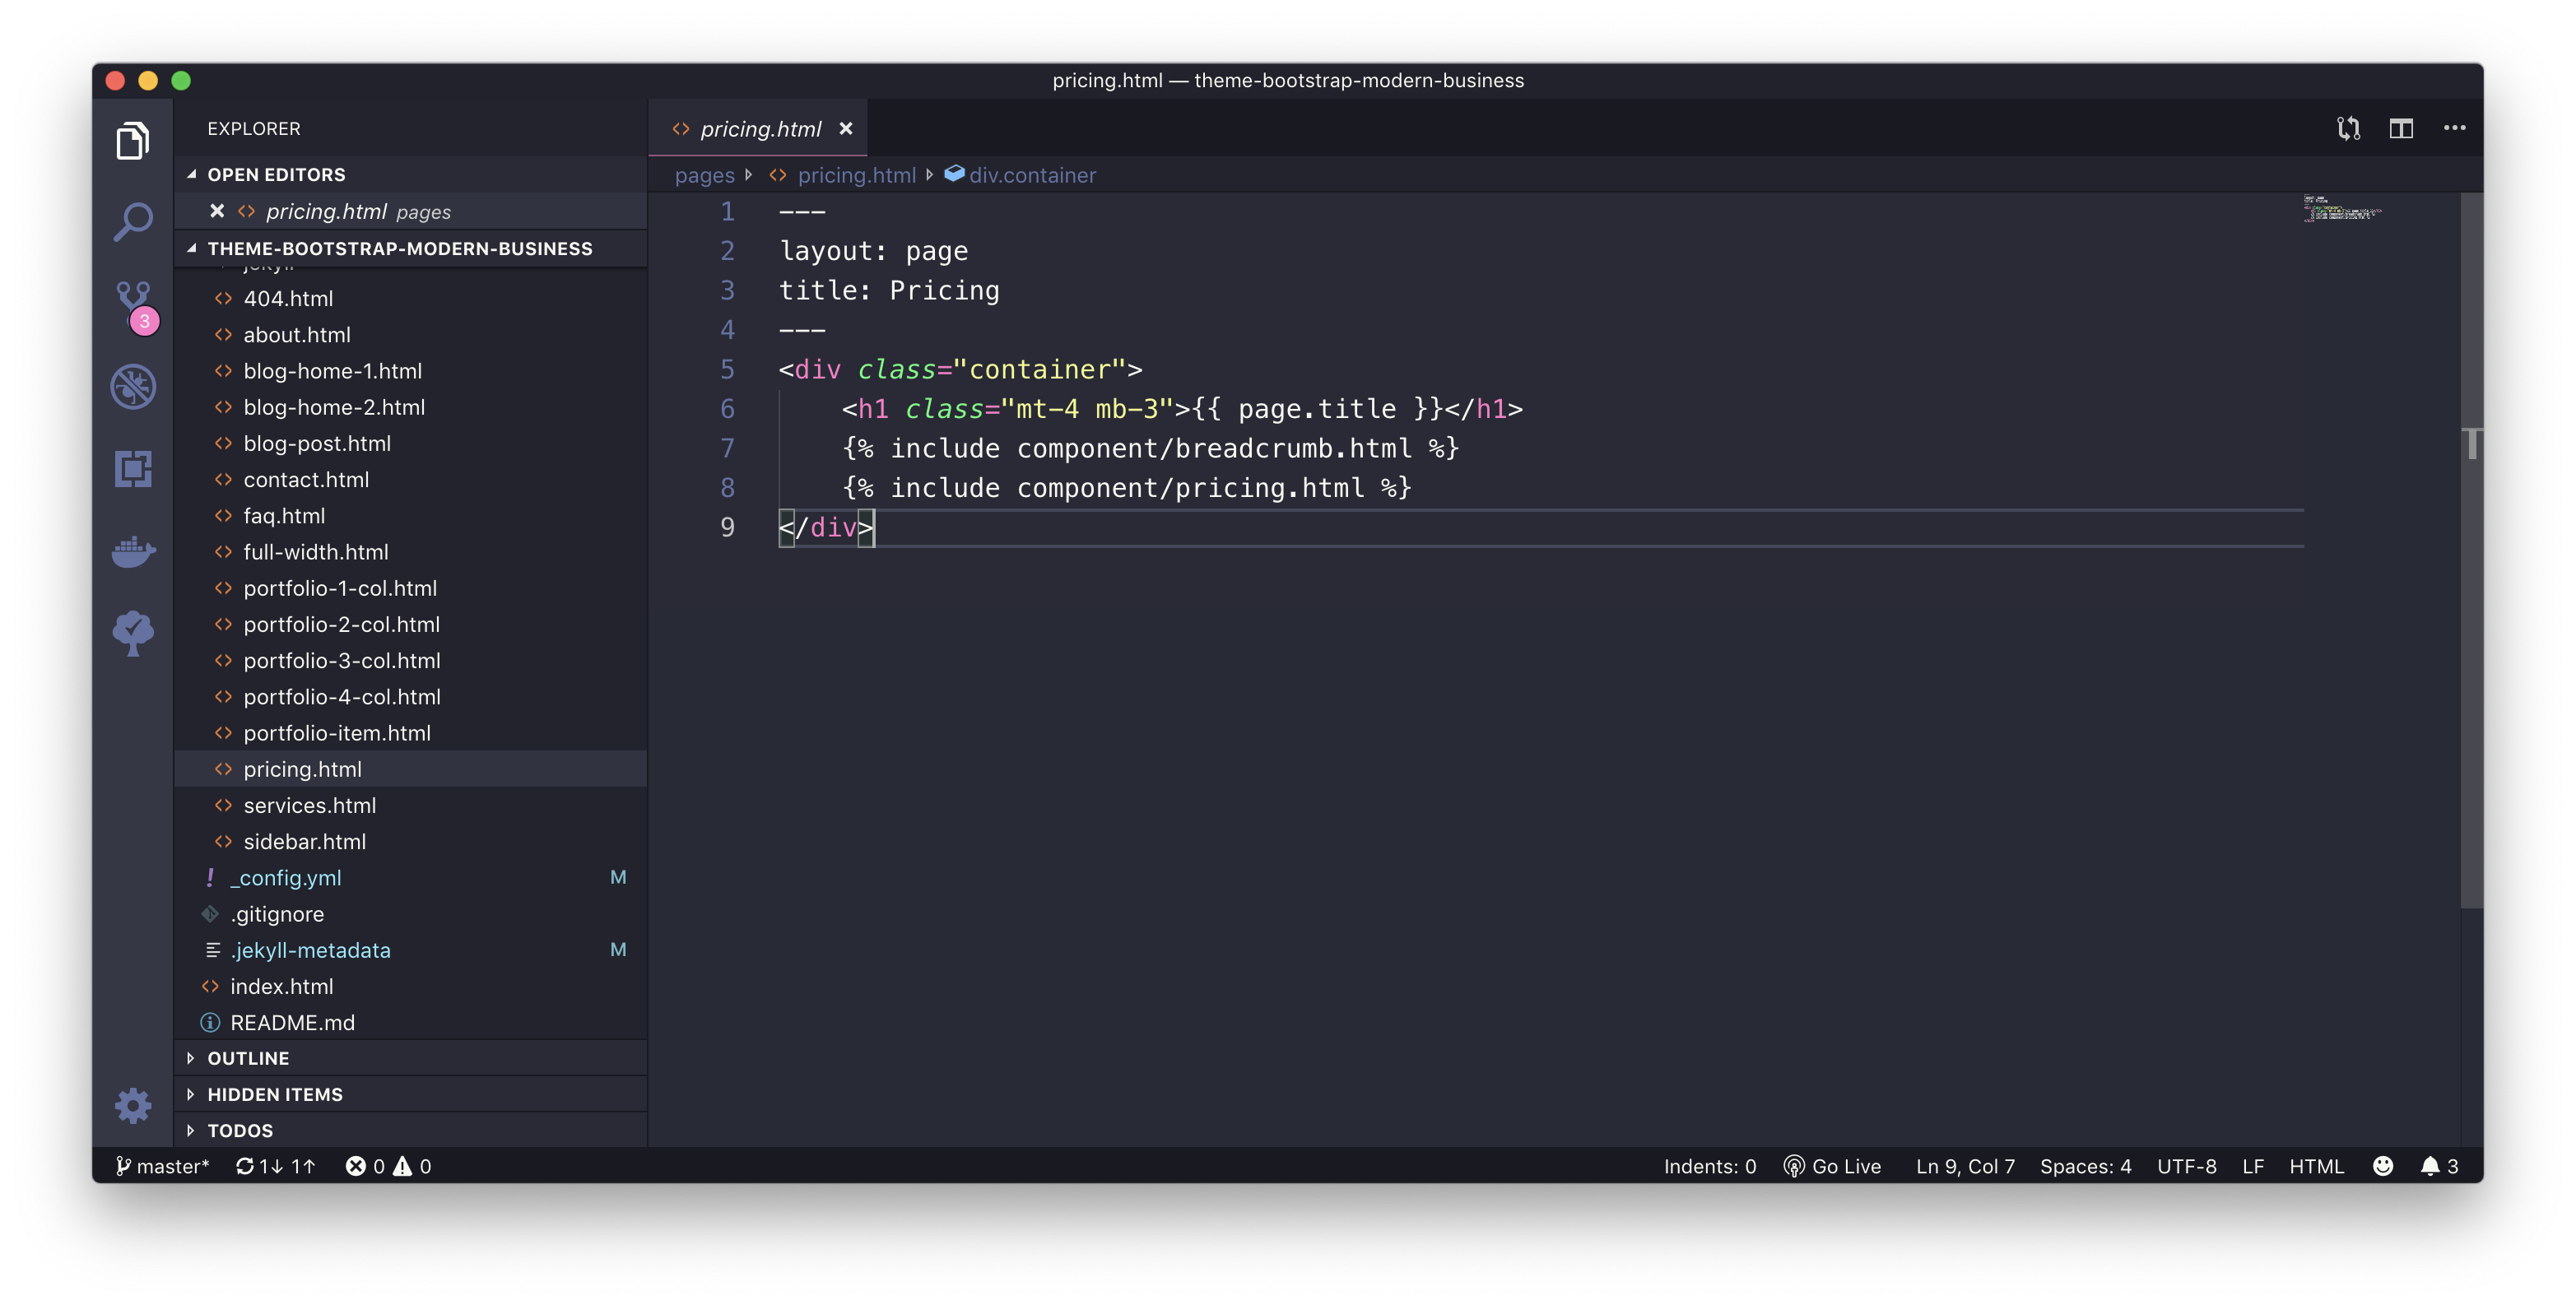
To achieve this with Jekyll, i convert the Bootstrap pages to Jekyll include pages. The final result should look like this:
Next step was to convert every Bootstrap Template Page to a Jekyll Include File
About Page
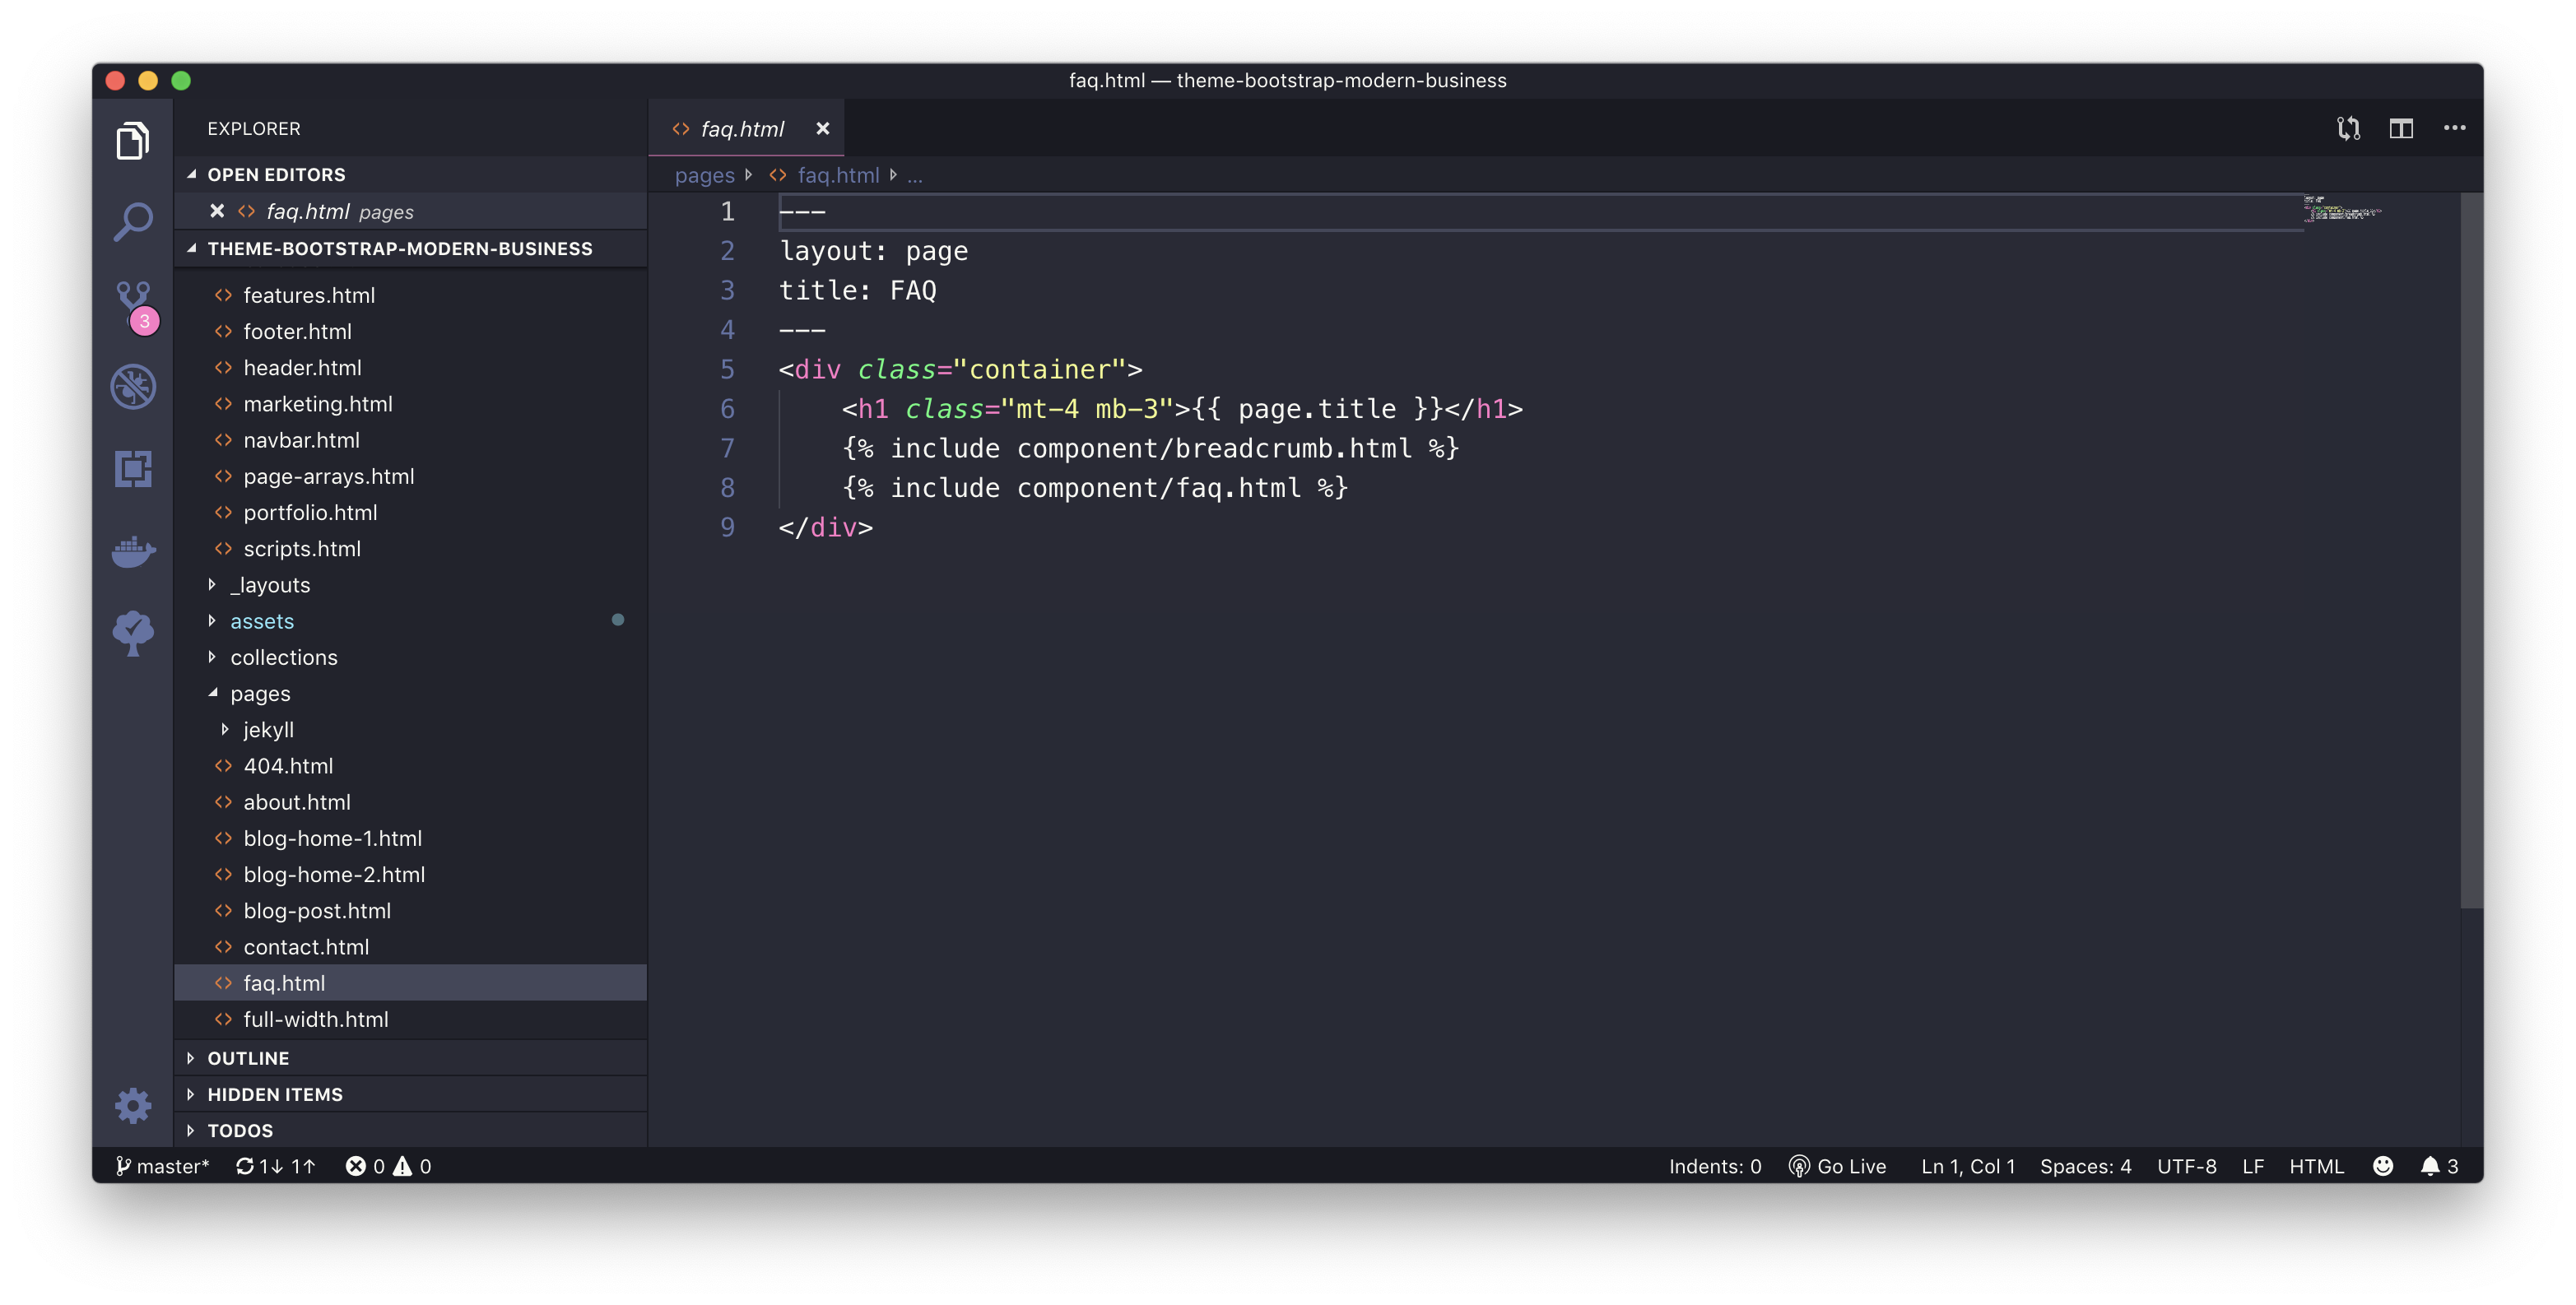
FAQ Page
Portfolio Page with 1 Column
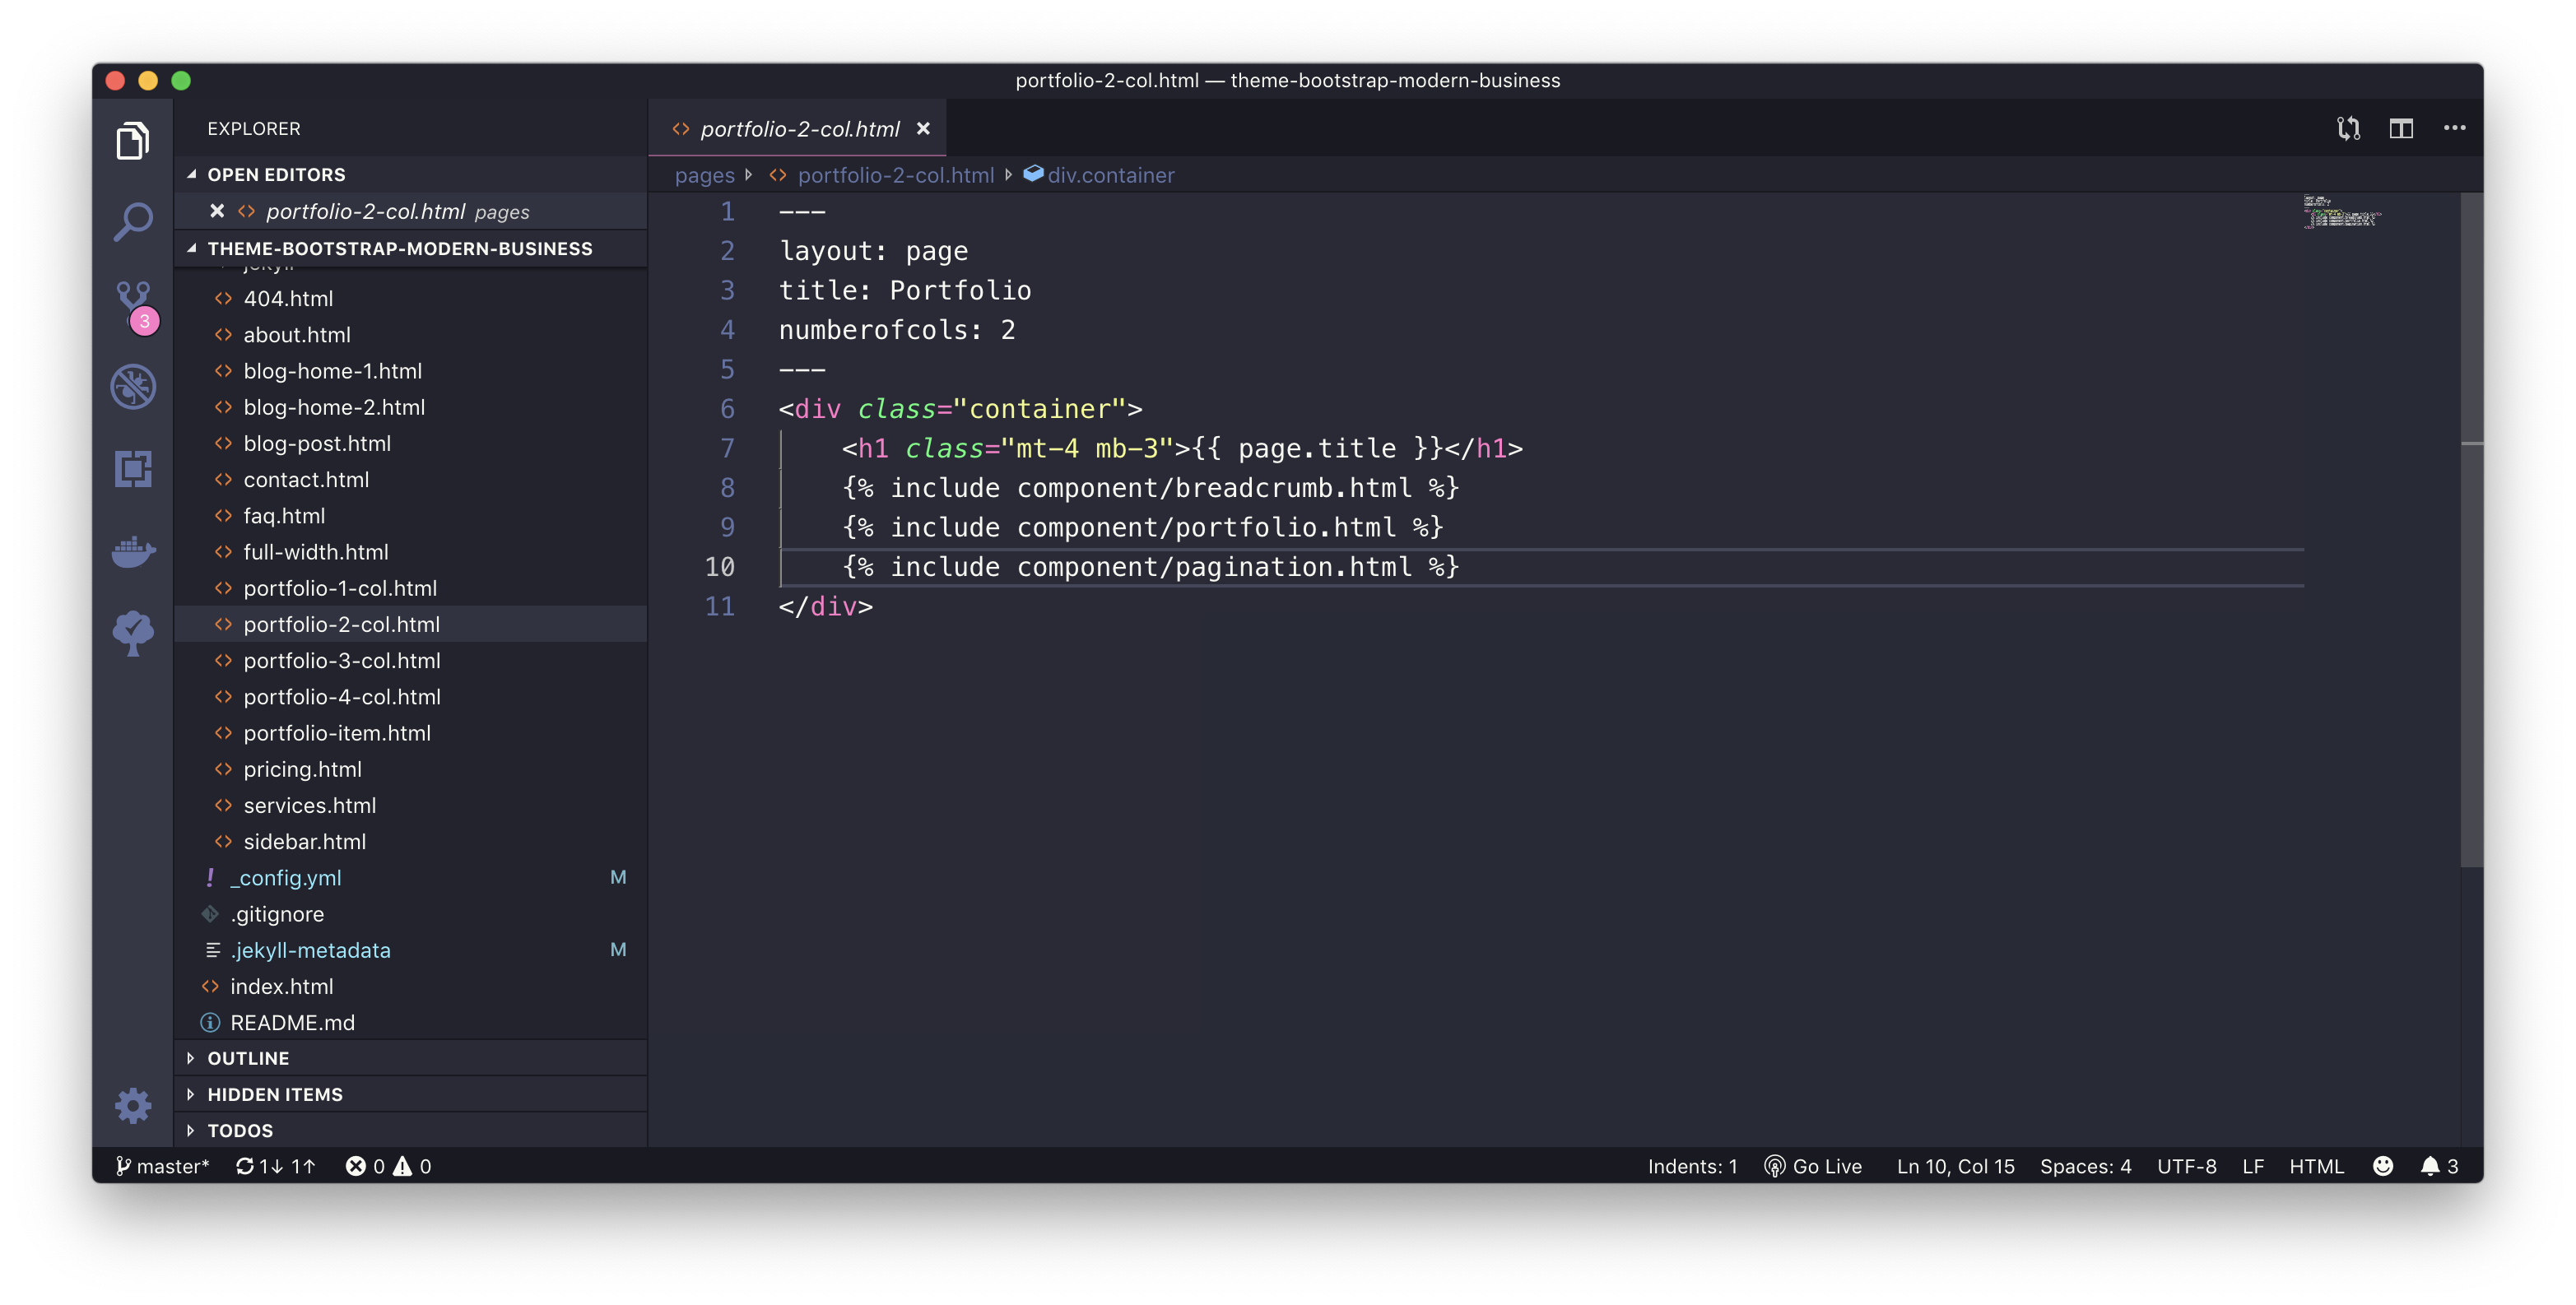
Portfolio Page with 2 Column
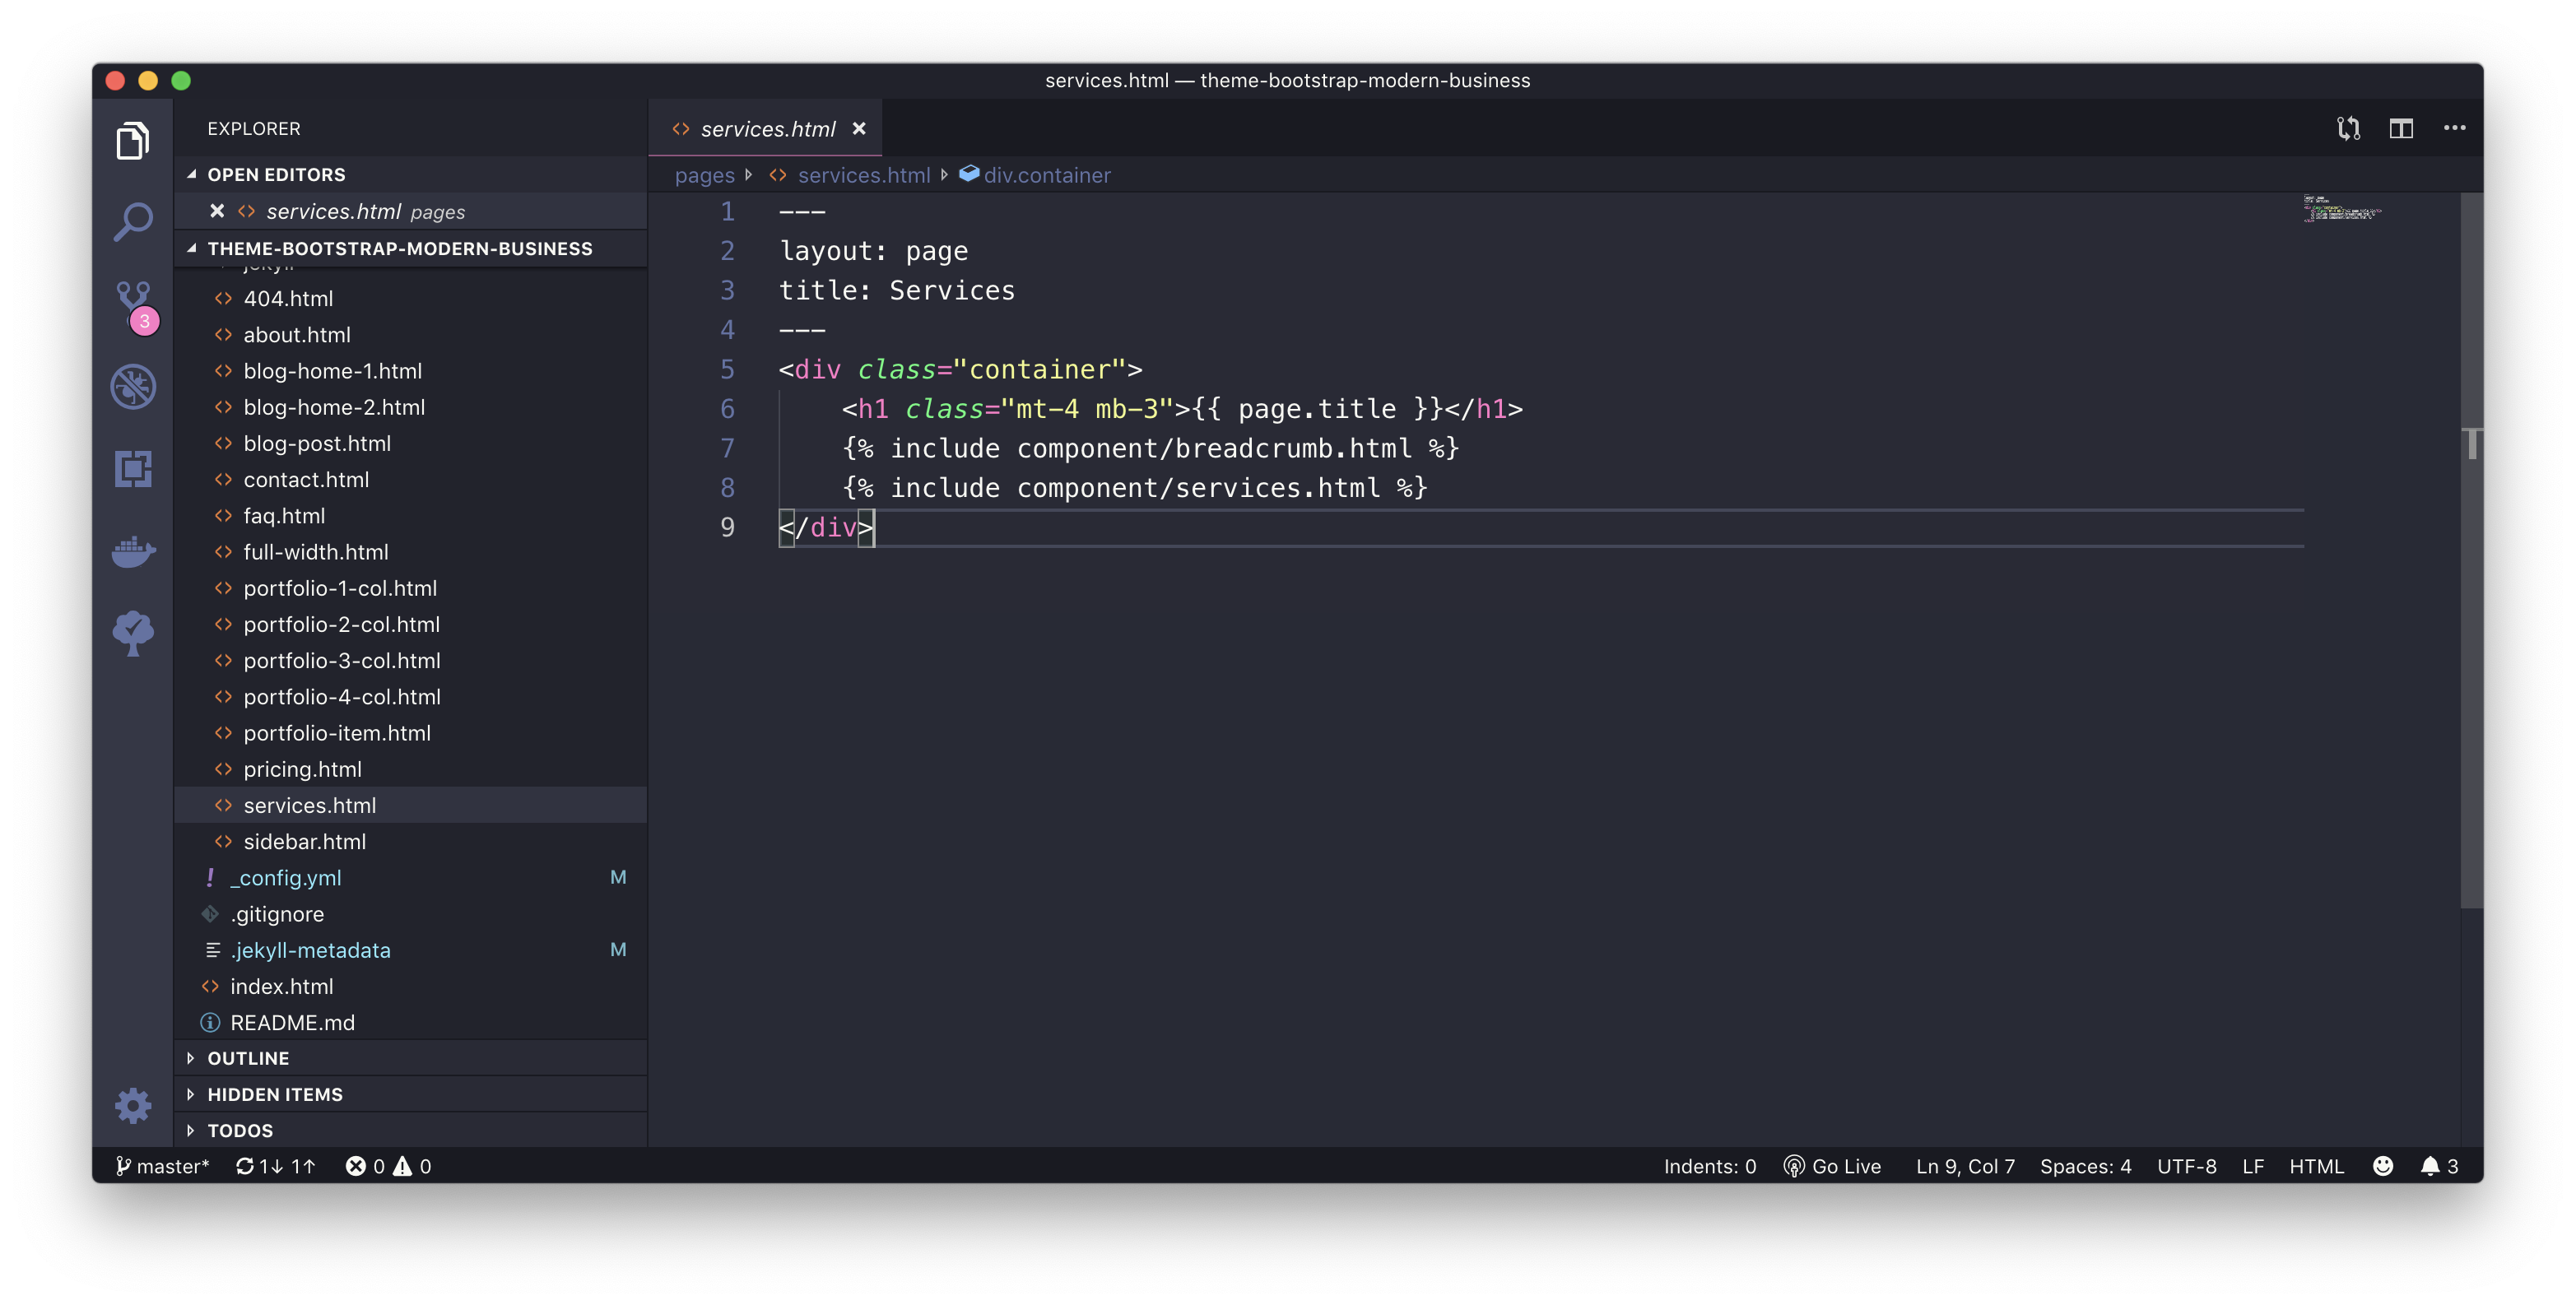
Services Page
Pricing Page
The main challenge in separating the presentation from the business layer was: where to place the data to be displayed?
Depending on the type of the component, i choose three different solutions:
Place the data in the corresponding include file of the component
Place the date in the page, which calls the corresponding include file of the component
Place the data in a Jekyll collection file
Data in corresponding include file of the component
I used this approach for components, which are used only once on the website and have a mostly static content, e.g. the FAQ Page
The component page
The frontend page
Date in the page, which calls the corresponding include file of the component
I used this approach for components, which are used more than once on the website, e.g. a Blog Post
The component page
The frontend page
Data in a Jekyll collection file
I used this approach for components, which are used only once on the website, but needs more configuration information, e.g. the Services- or Portfolio Page.
This step needs an additional configuration task: create the Jekyll Collections.
Jekyll collections are a great way to group related content like members of a team or talks at a conference.
To use a Collection you first need to define it in your _config.yml.
#
collections_dir: collections # folder, where collections files are stored
collections:
services:
title: "Services"
output: true # store output files for each item under the collections folder
Then, you have to create the collection files, for each item in your collection one file:
These files look like this:
---
img: 1.jpg
title: Development
subtitle:
footer:
text: Lorem ipsum dolor sit amet, consectetur adipisicing elit. Possimus aut mollitia eum ipsum fugiat odio officiis odit.
---
And the data of this files can be accessed in the Jekyll include file with this code fragment:
We use cookies on our website to give you the most relevant experience by remembering your preferences and repeat visits. By clicking “Accept All”, you consent to the use of ALL the cookies. However, you may visit "Cookie Settings" to provide a controlled consent.
This website uses cookies to improve your experience while you navigate through the website. Out of these, the cookies that are categorized as necessary are stored on your browser as they are essential for the working of basic functionalities of the website. We also use third-party cookies that help us analyze and understand how you use this website. These cookies will be stored in your browser only with your consent. You also have the option to opt-out of these cookies. But opting out of some of these cookies may affect your browsing experience.
Necessary cookies are absolutely essential for the website to function properly. These cookies ensure basic functionalities and security features of the website, anonymously.
Cookie
Duration
Description
cookielawinfo-checkbox-analytics
11 months
This cookie is set by GDPR Cookie Consent plugin. The cookie is used to store the user consent for the cookies in the category "Analytics".
cookielawinfo-checkbox-functional
11 months
The cookie is set by GDPR cookie consent to record the user consent for the cookies in the category "Functional".
cookielawinfo-checkbox-necessary
11 months
This cookie is set by GDPR Cookie Consent plugin. The cookies is used to store the user consent for the cookies in the category "Necessary".
cookielawinfo-checkbox-others
11 months
This cookie is set by GDPR Cookie Consent plugin. The cookie is used to store the user consent for the cookies in the category "Other.
cookielawinfo-checkbox-performance
11 months
This cookie is set by GDPR Cookie Consent plugin. The cookie is used to store the user consent for the cookies in the category "Performance".
viewed_cookie_policy
11 months
The cookie is set by the GDPR Cookie Consent plugin and is used to store whether or not user has consented to the use of cookies. It does not store any personal data.
Functional cookies help to perform certain functionalities like sharing the content of the website on social media platforms, collect feedbacks, and other third-party features.
Performance cookies are used to understand and analyze the key performance indexes of the website which helps in delivering a better user experience for the visitors.
Analytical cookies are used to understand how visitors interact with the website. These cookies help provide information on metrics the number of visitors, bounce rate, traffic source, etc.
Advertisement cookies are used to provide visitors with relevant ads and marketing campaigns. These cookies track visitors across websites and collect information to provide customized ads.